Frustrated?
When deadlines are coming, you end up in a state of panic,
Confusion,
You might not want to end up like this

Welcome to the Scribble Media
We’ll be showing you ‘how to add or use a Numeric keypad on an Ipad pro for Clip Studio Paint shortcuts’
INTRODUCTION
Ever wondered why top artists finish their art before deadlines
They use shortcuts!
That’s right; the key for a faster workflow is using shortcuts on your keyboard.
And you might say, why not use a keyboard?
Well, you can use one actually, but keyboards are big and cannot fit in your pocket.
And you cannot carry it anywhere you go,
Unless you carry your house with you

This is the solution
A wireless numeric keypad
Available on online stores or at your local computer shops

This simple little device can help you wonders
It’s lightweight, and a space saver
You can use it with your iMac, or your laptop, or your PC
But today I’m going to show you how to use it on an IPad Pro

PROCESS
First
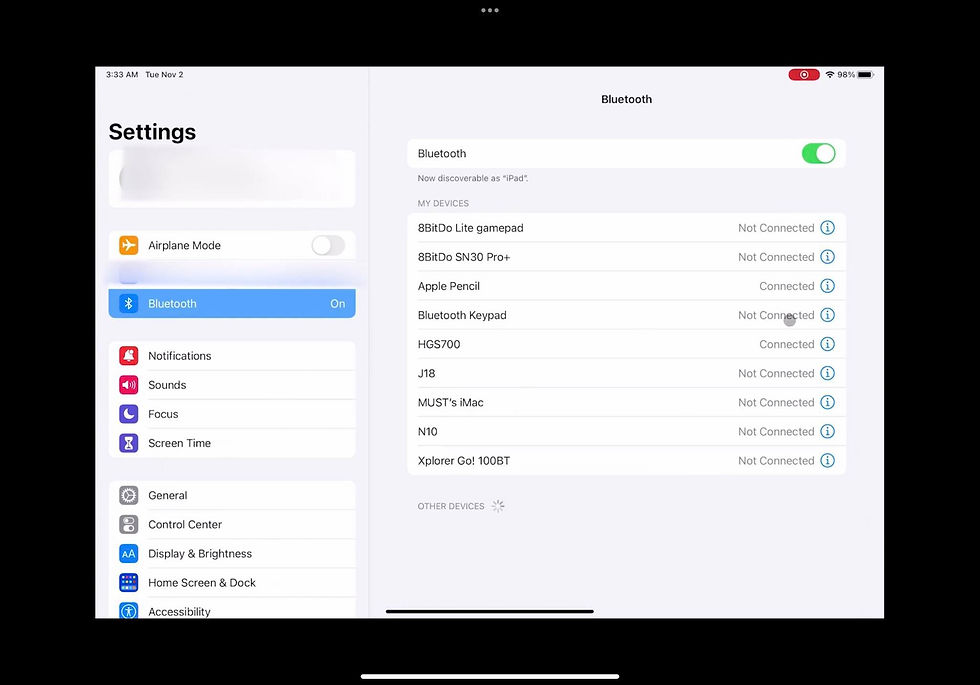
Turn on the Numeric keypad and let your IPad detect it on Bluetooth
On my model, it came out as a ‘Bluetooth keypad’
It installs easily or you can refer to the device's manual

Then on your clip studio paint
Click on the clip studio icon on the upper left
And click Shortcut Settings

This is where you assign the shortcut keys on your numeric keypad
-The Menu commands
-Pop-up palettes
-Options
-Tools
-Auto Actions
Click on the tool you want to assign and click Edit shortcut
Now this part will be at your own preference on which tools you use frequently
Since the number of keypad buttons that can be assigned with the shortcuts is limited.

Once you’re done click OK and you’re good to go
FINALIZING YOUR DIY KEYPAD
Since you need to familiarize yourself with the shortcuts on your keypad
You’ll have to customize your device with
Stickers!

Create Icons that will match your shortcuts for your keypad and have fun with it
And then print it

Now this is the fun part
Placing the stickers on your Numeric keypad

And if you want the sticker to last on the keypad
Add clear gel glue on top and sides of the placed stickers
Just make sure not to spill or over apply the glue in between the keys

Once it’s dried you can now marvel at your own creation
‘The Wireless Numeric Keypad shortcut for your Clip Studio Paint’

CONCLUSION
With this newly acquired device, you can now level with the pros
And how you can save time with your art and beat deadlines
And do other stuff like chores or hobbies
Just keep on practicing
And if you have any questions about this DIY device, just let us know

And if you want to know more about the Scribble Media check out our YouTube channel https://www.youtube.com/channel/UCk6FDWmgw7zpOvUmLS7zPVg
Amazon Link for the Numeric Keypad:
#thescribblemedia #indiebasedstudio #animation #comics #webtoon #webcomics #services #platform #illustrationservices #computer #freelance #comicsandmanga #filipino #bisaya #bisdak #clipstudiopaint #clipstudio #clip #studio #ipadpro #keyboard #macrokeyboard #numerickeypad #keypad #numeric #shortcut #shortcutkeys #tutorial #beginner #tips #videotips


Comentarios